8 pm Cuttlebug Challenge
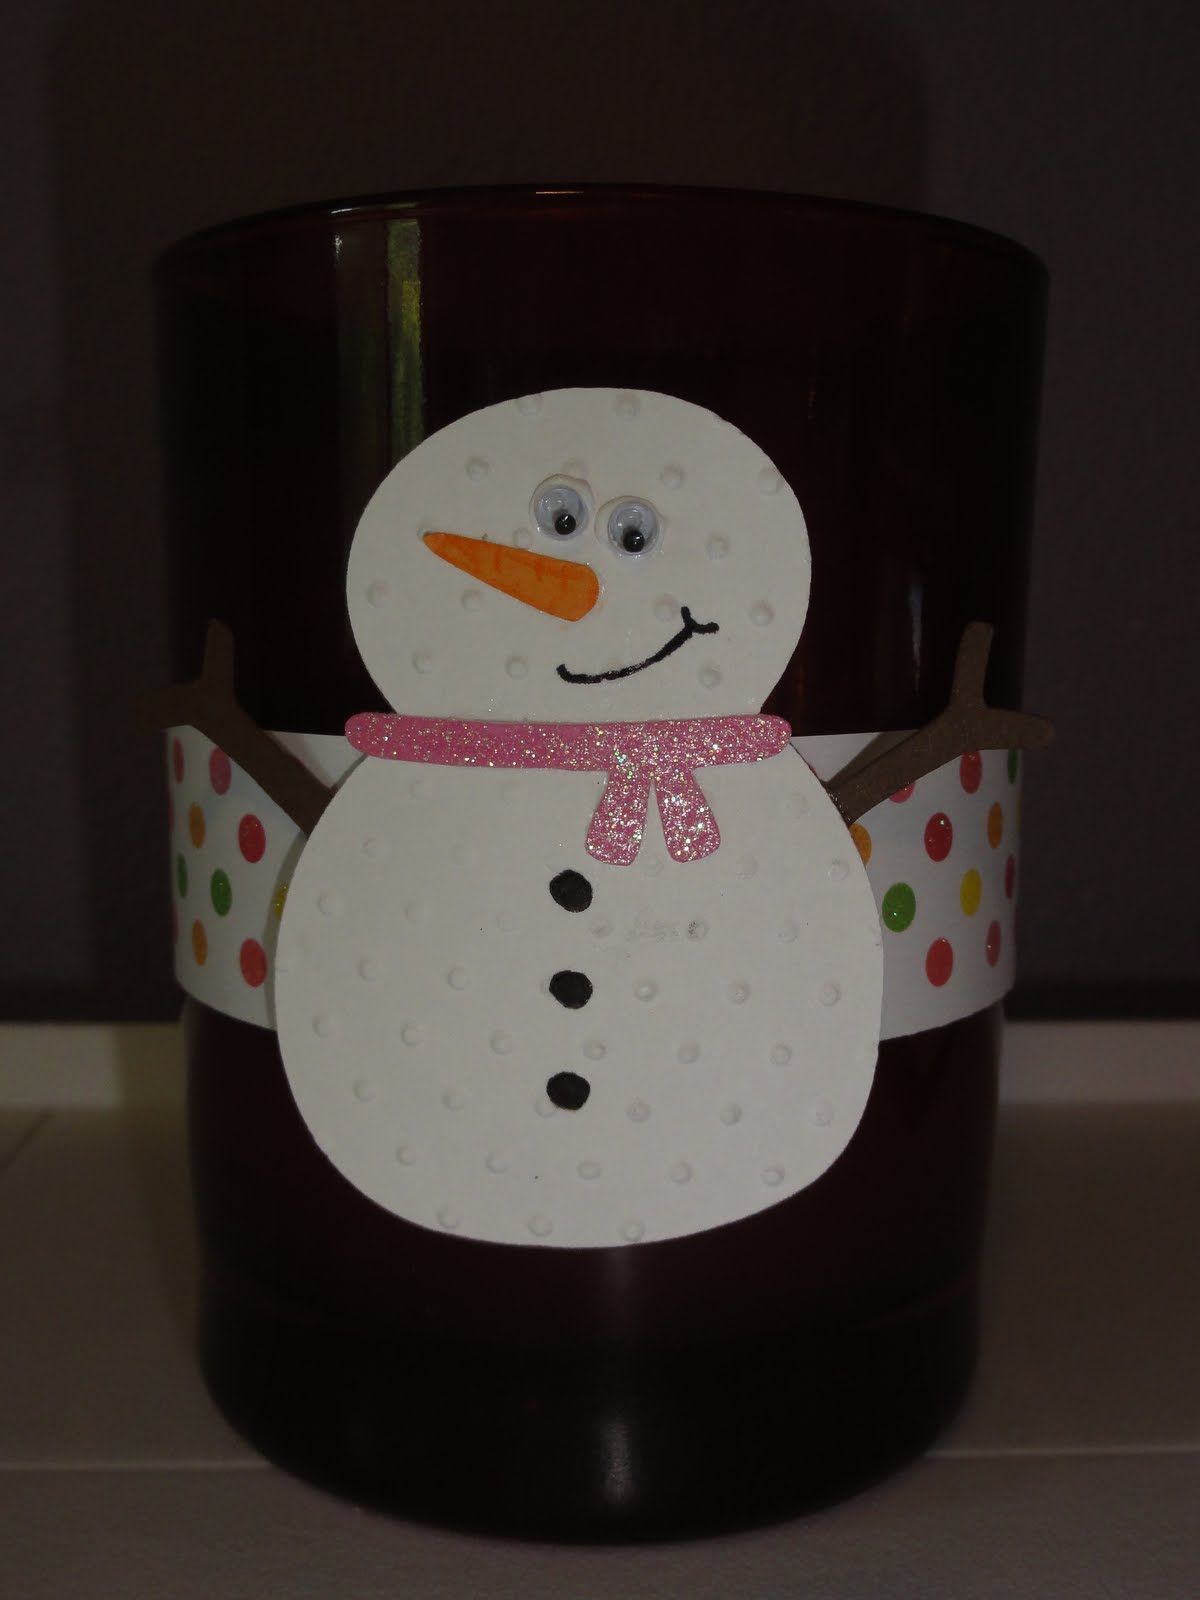
For this challenge you were to create a piece of jewelry with your cuttlebug embossing folder. I decided to make a wine glass charm. I embossed some metal sheeting with the Snowflakes folder and then punched it out with my circle punch. I added some beads I wired together and added them to the circle medallion.