Monday, October 21, 2013

Sweet Friend

Hello everyone! It's time for a new challenge at My Craft Spot. This week the challenge is a color challenge. Create a project using the color in the color inspiration picture below


And this is the card that I created for my project this week.


I cut the snow cone out using my Cameo and the Snow Cone freebie cut file from SVG Cutting Files. I stamped the face with a Peachy Keen Happy Lashes face stamp and added glitter to the top layers. I mounted it on pop dots and added a bow. I created the tag using My Craft Spot's Lacy Banner Metal Dies and stamped the sentiment using the Bon Appetit stamp set. 

I hope you will play along in the challenge and please don't forget to check out the rest of the DT's projects!
Have a great day!

Friday, October 18, 2013

Craftin' Desert Diva's Spooktacular Halloween Blog Hop

Welcome to Craftin Desert Divas Spooktacular Halloween Blog Hop!!


We are so happy that you could join us today! If this is the first time that you have hopped with us you won't be disappointed.   My friends are all amazingly talented.

Please be sure to start at the beginning at Craftin Desert Divas so you don't miss out on a thing! You will not only get some inspiration, but you could win GREAT prizes, too!! You must FOLLOW and COMMENT at all of the stops both days to have a chance to win.

Here's the wonderful sponsors for this hop...


For this two day hop each blog on both days of will be offering a prize from a sponsor. You must visit each stop both days to be eligible to win.  Winners will be announced Oct 22. The complete list of winners will be on Craftin Desert Divas blog.

My sponsor is The Robins Nest with a Halloween Paper Pack


This is what I created for the hop today. I made a pumpkin trio centerpiece with some SUPER CUTE Peachy Keen Faces.


I created the stacked boxes using the SVG Cutting Files Snowman Trio Treat Box file. I just didn't add any of the snowman accessories. I cut each box out of a different orange color and inked all the edges. I stamped the faces using Peachy Keen's Moodies 2 1/4 inch face stamps and used a white gel pen to color in the eyes. 
I added some raffia in between the layers and some vines I created by cutting strip of paper and then curling them. The leaves are stamped in VersaMark ink using Peachy Keen's September 2012 SOTM set and I cut them out. I added them to the box tops with the vines. The stem on the top I created by cutting a 1 1/2 X 8 1/2 inch strip of Kraft paper and rolled it up and glued it closed. After the glue set, I used my scissors to cut into the top and rolled down the edges. I inked the stem edges and added a raffia twist to the stem. 

You're next stop in the hop is the talented BARB!

 Have fun hopping and don't forget to come back for day 2 tomorrow!

Here is the blog line-up  in case you get lost along the way

Saturday Oct. 19- Day 1

Sunday Oct. 20- Day 2

Also, I hope you will all come and check out the My Craft Spot Release week! There will be a prize everyday along with a blog hop on Saturday where you could win one of the new stamp or die sets! To be eligible to win a stamp set now, add this release button to your blog. You can find it HERE along with all the details!
My Craft Spot

Thursday, October 17, 2013

Fireman Birthday Card


Hello everyone! My nephews 2nd birthday is coming up and this is the card that I made for him. I also bought him his 1st remote control fire truck, so this card will match perfectly with his gift!

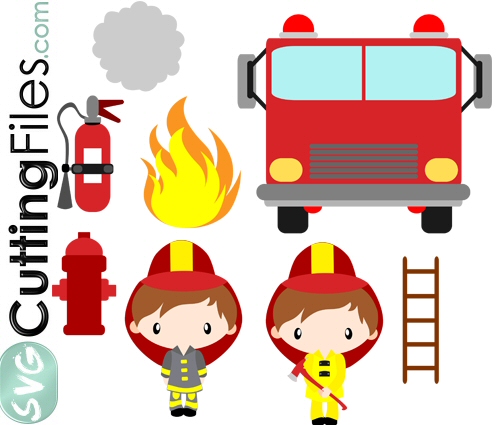
I made this card using the Fire Fighter Kevin file from SVG Cutting Files. Isn't he ADORABLE?!?! This is such a FUN file!
Fire Fighter Kevin

I created the card base in my Cameo using the fire truck from the file. I outlined it and welded the shape to create my card and then cut all the remaining pieces. I added a #2 to the center of the truck for his birthday number and added Glossy Accents to the lights. I cut the boy from the file also and stamped his face with a Peachy Keen Sweet and Innocent face stamp. I added him to the front of the truck with pop dots and stamped the birthday sentiments, inside and out, using Peachy Keen's With A Cherry On Top set.

I hope you all liked my card and thanks for stopping in! Have a great night! 
ALSO, If you haven't already seen, there is a SUPER FUN HALLOWEEN BLOG HOP starting Saturday with TONS of prizes so I hope you will come back and check out what I created!


Wednesday, October 16, 2013

Witches, Cats, And Ghosts About

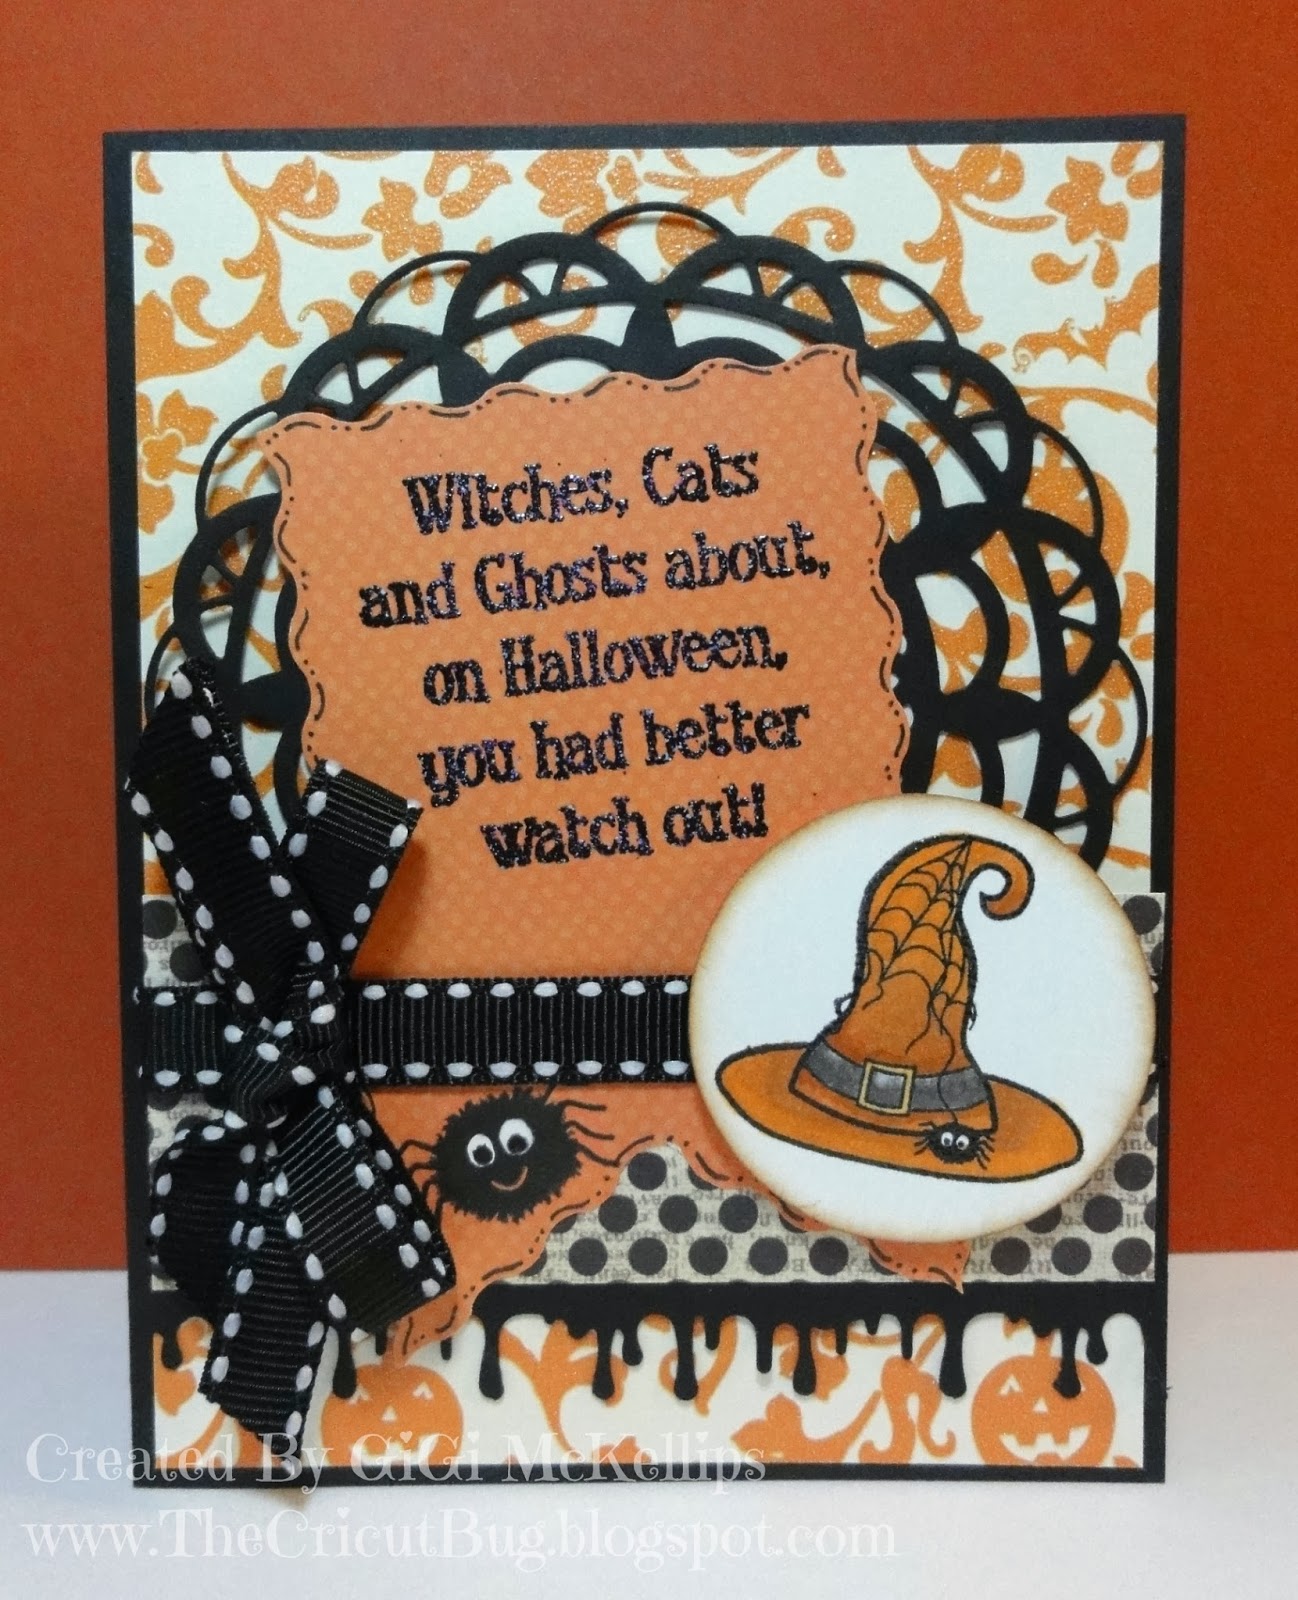
Hello everyone! It's my day to post at My Craft Spot and I wanted to share a card with you. I used several of My Craft Spot's products on this card.


I was really happy with how this card turned out. Sometimes you see something in your head and it doesn't always some out the way you see it! LOL!
I started this card with using My Craft Spot's 4 Inch Metal Doily Die for the background. I used a pair of decorative scissors to cut the edges of my banner tag and used a black pen to add the stitching. I stamped the sentiment using My Craft Spot's Ghostly Greetings stamp set and heat embossed it using glitter embossing powder. 
I stamped the spider onto the tag and the witches hat using My Craft Spot's Jar Full Of Halloween stamp set. I colored the hat using some Copic markers and cut the hat out onto a 2 inch circle. I inked the edges of the circle and mounted it with pop dots. To finish I added the ribbon and a MS Drippy Goo border punch. 

I hope you all liked my card and thanks for stopping in! Have a great day!

Tuesday, October 15, 2013

Gift's Galore SVG Cutting File Challenge

Hello everyone! Today starts a new challenge at SVG Cutting Files. This month the challenge is Gifts Galore- any type of gift (this means no single cards)  
You have until the 14 of November to play along!

I had Miss Ann create these ADORABLE bags for me. Didn't they turn out super cute?!?! These will be perfect for gift giving this holiday season. The name of the file is Gingerbread Head Bag Set and they are available now!


I cut the boy bag out of red and the girl out of pink. I cut all the layers with the file and inked the edges. I also added some white dots to the eyes and stickles to the white parts. I gave the girls bow a little dimension by curling the top bow piece before I added it with a pop dot. I added red stickle dots to the bows and tags to each one. The tags were cut with My Craft Spot's Tiny Tags Metal Dies and I stamped the sentiments using the Mistletoe stamp set. 

I hope you will all play along and please don't forget to check out the rest of the DT's awesome projects! Have a great day!

Monday, October 14, 2013

Halloween Hanging Easel Card


Hello everyone! It's time for a new challenge at My Craft Spot! This week the challenge is 3D Halloween. Create a 3D Halloween project.
I decided to try this hanging easel card and I have to say, it turned out pretty neat! It was alot of work though LOL!
I created the card and all the cuts using my Cricut. I started with an easel card base and then cut out the decorative frames from Elegant Edges. After it was cut out, I used the inside oval to trace onto my card base where it folds in half. Then I cut out the oval.
I cut the spider from Mini Monsters and stamped the face with a Peachy Keen Erkle and Merkle face. I punched a hole into the top and added some cotton string. I then layered the string in between the to fancy frames and mounted them around the cut out circle on the card base. 
The spider web on the inside was cut using Paper Doll Dress Up and I mounted it on pop dots. 
I stamped the "Be Spooky" sentiment onto My Craft Spot's Tiny Banner Die and stamped the Happy Halloween onto the inside of the card using the Best Witches To You stamp set. 
I hope you will all play along and please don't forget to check out the rest of the DT's projects!
Have a great day!

Friday, October 11, 2013

Bounty Of The Season Gift Bag

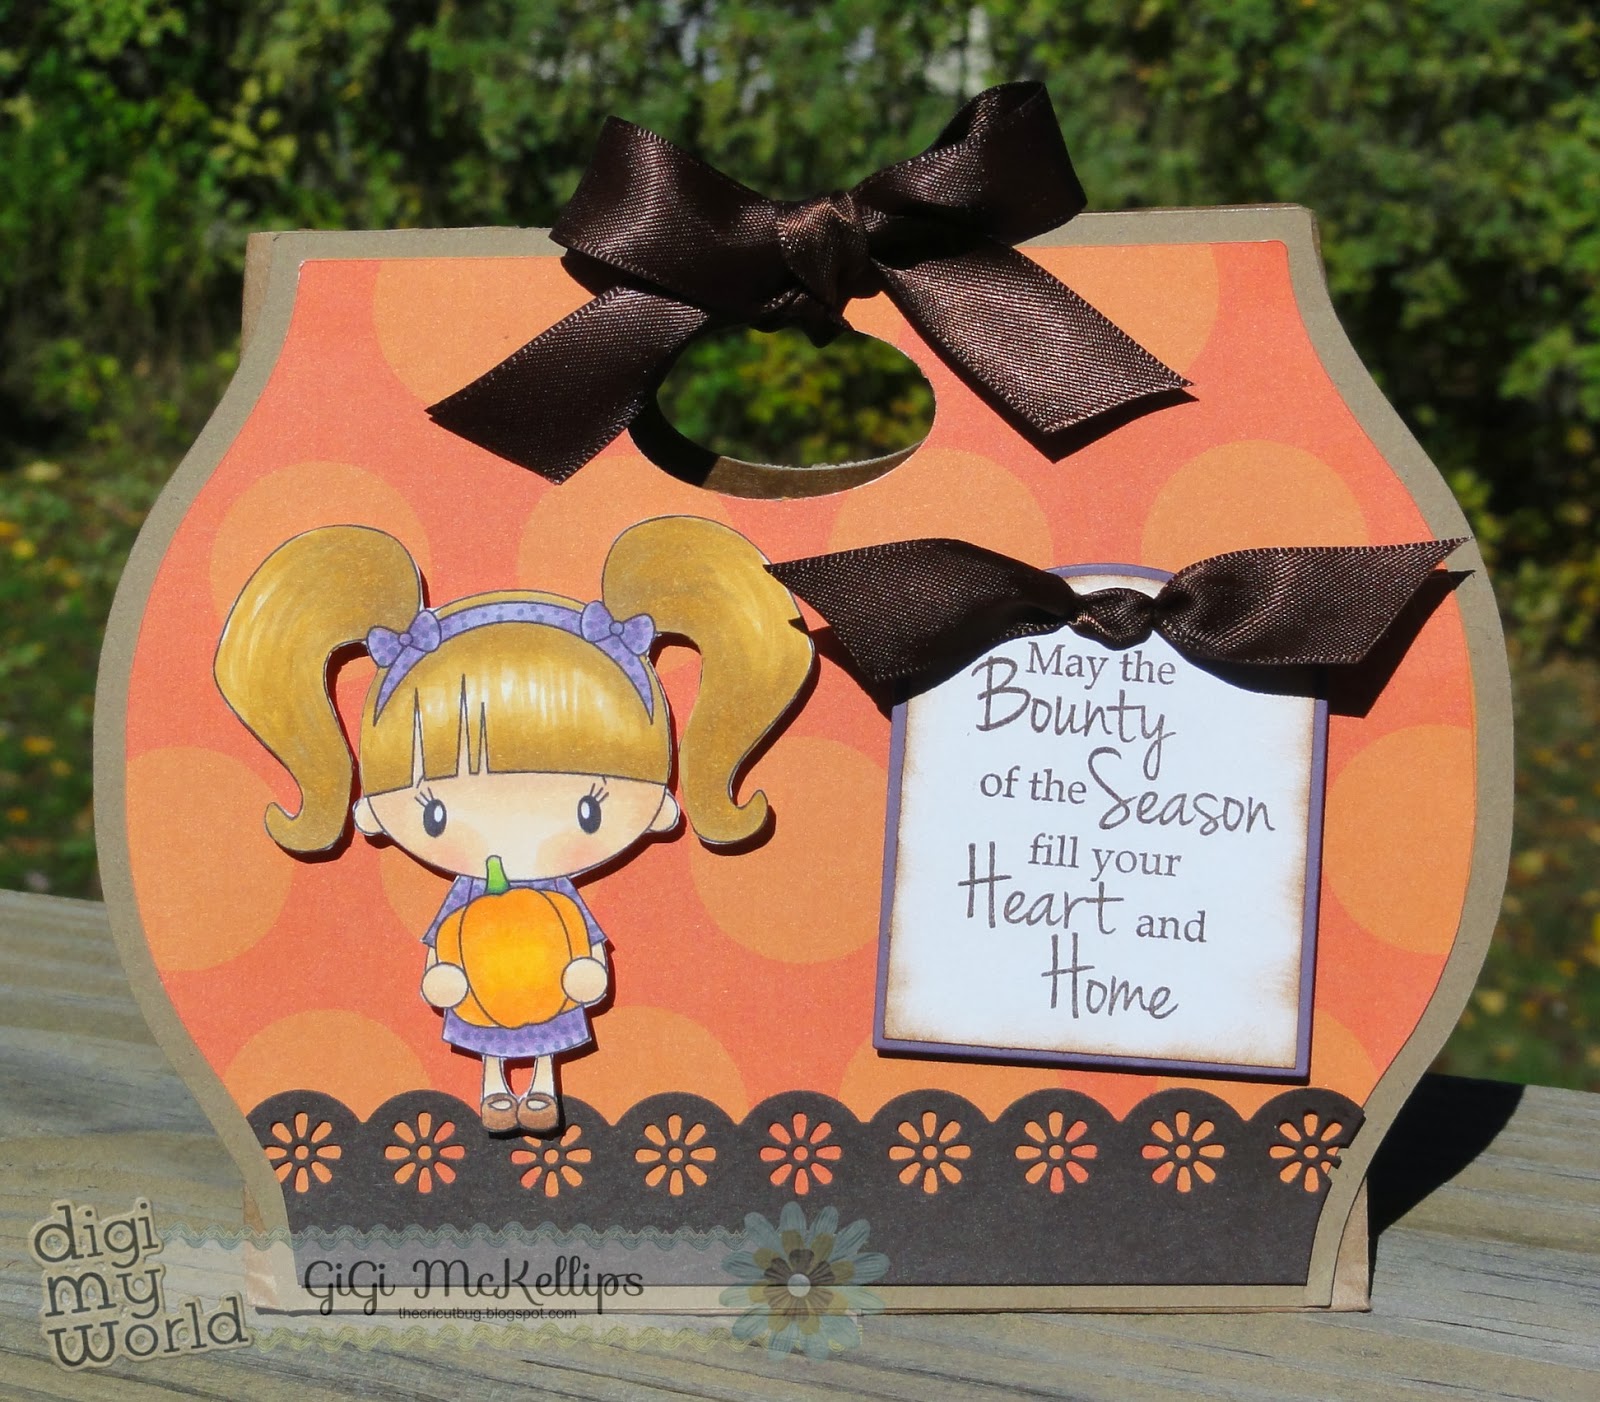
Hello everyone! It's my day to post at Digi My World and I have a fun gift bag to share with you. I used the Hayrides Digi stamp set for that super cute girl holding the pumpkin. This is such a wonderful fall themed set!


I created the bag using a paper lunch sack and the front and back layers are from the SVG Cutting Files Arched 2 Card Base cut file. After I glued the front and backs onto the bag, I used an oval punch to punch out the handles. 
I colored the girl digi with copic markers and cut her out. I mounted her on pop dots and added a punched flower border to the bottom of the bag. The sentiment mats were cut with My Craft Spot's Ornate Labels Metal Dies and I stamped the sentiment using My Craft Spot's Happy Thanksgiving stamp set. To finish, I threaded some ribbon through the sentiment tag and added a ribbon with bow to close the bag.

I hope you all liked my project today and thanks for stopping in!
Have a great day and weekend!