Showing posts with label Jolly Holidays. Show all posts

Tuesday, November 6, 2012

Day 2 Of My Craft Spot's Stamp Release


Hello everyone! Welcome to say 2 of My Craft Spot's Stamp Release Sneak Peeks!!! We will be showing you some awesome projects along with prizes everyday, followed by a blog hop on Saturday. So make sure you head to My Craft Spot to see what the prize is for EACH day and some fabulous inspiration from the DT.
Today we are showing you sneak peeks of the new Stampin' Around Christmas stamp set. These are designed to fit the Tiny Doilies Metal Dies. 
I cut the reindeer from Jolly Holidays and stamped the eyes with a Peachy Keen stamp. The snowflakes on the side and center of the die are stamped and heat embossed from the Stampin' Around Christmas stamp set. I cut out the Tiny Doilies Dies and stamped the outer ring and mounted it to pop dots. To finish I added a ribbon and some red stickles dots by the snowflakes.  
Thanks for stopping in today and don't forget to head over to My Craft Spot for more sneak peeks, wonderful inspiration and the prize for today! See you tomorrow for day 3!
SUPPLIES
My Craft Spot- Stampin' Around Christmas stamp set, Tiny Doilies Dies
Peachy Keen- Cornies
Cricut- Jolly Holidays

Monday, November 5, 2012

Day 1 Of My Craft Spot's Stamp Release


Hello everyone! It's finally here!!! SNEAK PEEK WEEK for My Craft Spot's Stamp Release!!! This is day 1 of a week long PARTY!!! We will be showing you some awesome projects along with prizes everyday, followed by a blog hop on Saturday. So make sure you head to My Craft Spot to see what the prize is for EACH day and some fabulous inspiration from the DT.
Today we are showing sneak peeks of the new Chunky Alphabet stamp set and the Lacy Banners Metal Dies.
I love to make cards with non-traditional colors and this one is a fabulous example! That cute penguin looks great on a pink background...lol!
I cut the penguin from Straight From The Nest. This cut is actually part of a phrase cut...one of those hidden jems. I stamped the face with a Peachy Keen face stamp and did a white ink line around him. The mittens were cut from Jolly Holidays and I attatched them with some Blueberry Twine. 
I created the banner using the new Lacy Banner Dies and stamped each element. The "I" and the "heart" are from the new Chunky Alphabet and the snowflake is an extra sneak peek from another set. I pop dotted them in the center and added some twine to the top. I also added some twine bows to some buttons and added them to the corners. To finish I added Glossy Accents to the centers of the banner. 
Thanks for stopping in today and don't forget to head over to My Craft Spot for more sneak peeks, wonderful inspiration and the prize for today! See you tomorrow for day 2!
SUPPLIES
My Craft Spot- Chunky Alphabet stamp set and Lacy Banners Metal Dies, Strawberry Cupcake and Blueberry Trendy Twine
Peachy Keen- Happy Lashes
Cricut- Straight From The Nest and Jolly Holidays

Saturday, September 8, 2012

My Craft Spot Stamp Fall Release Blog Hop

If you click on the above picture, you can see it a lot bigger.


Hello everyone! IT's FINALLY the day you get to see the full reveal of the new stamps! If you came from My Craft Spot, you're in the right place. If not you will want to start at the beginning at My Craft Spot so you won't miss a thing! You can also see all the new stamp sets there too!
I made this awesome Halloween banner using the new Tiny Doilies Dies, Stampin' Around Fall, and the Spooky Treats Stamp sets for my project.
The banners were cut from Straight From The Nest at 7 inches. I used my sewing machine and sewed a zig zag stitch along the sides of the orange banners. I cut the witch's head out of chunky glitter paper from Happy Haunting. For the center banner I cut the frame from Happy Haunting and used my Gypsy to make it a little wider to accommodate the sentiment. I stamped that awesome sentiment from the Spooky Treats stamp set.
NOW, for the layered ornaments.....I saw something like this on Pinterest and LOVED it. Theirs (can be seen HERE) was made using Stampin' Up stamps and dies, and I set out to re-create one using my Cricut! This is a very time consuming project, but so worth it! I will give you a list of the cuts and quantity and then tell you how to assemble it.
Simply Charmed ornament- 15 at 2 1/2 inches out of white (cut off hanger) for each ornament- 30 total for 2 ornaments
Jolly Holidays- 15 at 2 inches out of black and white poka dot for each ornament- 30 total for 2 ornaments
Here is a cut out sheet for you to see as reference
I chose to stamp my orange and white ones, but you can easily do this with just pattern paper.
Fold all ornaments in half length wise. Assemble each petal by gluing 3 ornaments together. Here's what they will look like
When you get all of your petals assembled, you will glue them to the outside of a 3 inch circle
(these are shown is reverse colors)
Next you will cut a 1 1/4 X 12 inch strip of paper and score every 1/4 inch till the 12 inch end. Then fold back and forth on each other to create the pleated fold for the rosette center. Glue ends together and ink edges in black. Then glue rosette to a 1 inch circle. For the center of the rosette I used My Craft Spot's new Tiny Doilies Dies and layered them on top of each other. I stamped the center die with the pumpkin stamp from the Stampin' Around Fall stamp set and did a black stitching line. I glued them to the top of the rosette and pop dotted the rosette to the center of the circle using 3 pop dots layered on top of each other.
I thread all the banner pieces onto black yarn and tied Marmalade and Midnight Black crinkle ribbon in between each banner.

Now for the BEST part! Each one of us is giving away 1 one the new stamp sets! All you have to do is leave a comment on all the blogs through the hop, and that will give you a total of 9 chances!
 I am giving away the Tiny Doilies Dies!

Just leave a comment and you will be entered to win. We will announce all the winners on Monday September 10.
Now you're off to the very talented Robin!
Here is the hop order in case you get lost
Kimberly
GiGi  -You're Here!
Robin
Kate
Amber
Heather
Gwen
Ally 
Marlene
Have a great weekend and thanks for hopping along with us!

Monday, December 12, 2011

Celebrate The Occasion Christmas No Red Challenge


Hello everyone! It's time for a new challenge at Celebrate The Occasion! This time the challenge is to create a Christmas project but you CAN'T use RED. Right now CTO is holding a Design Team Call. If you are interested, please head over there and check out how you can apply.
I made this fun "jingling" card. I cut the stocking from Jolly holidays at 4 inches. I inked around the edges and mounted it on pop dots. I tied a ribbon to the card and added some twine to the top. I strung on a bell before I glued it down and added a bow out of the white ribbon and also the twine. This card is so much fun because it "jingles" when you touch it. To finish I stamped the sentiment 3 times which comes from Whimsical Designs Snow Much Fun stamp set. I just love the cute sparkles on this sentiment!
I hope you all will play along this week and don't forget to check out what the rest of the fabulous DT has made. Have a GREAT DAY!
I am going to enter this into Simply Crafts Challenge- Use a stocking cut from Jolly Holiday

Wednesday, December 7, 2011

Whimsical Wednesdays "Winter Fun" and A Winner!


Hello everyone! It's time for a new Whimsical Wednesdays Challenge at Whimsical Designs. This time the challenge is to create a Christmas/Winter themed project and it must include "Sparkles". This can be by adding stickles, glimmer mist, glitter, etc, or you can include a premade glittery embellishment. Our very own Nanne is sponsoring this challenge with Websters Scrapbook supplies. And our own Cindy is giving 3 digital stamps. You can see her beautiful digi's HERE.
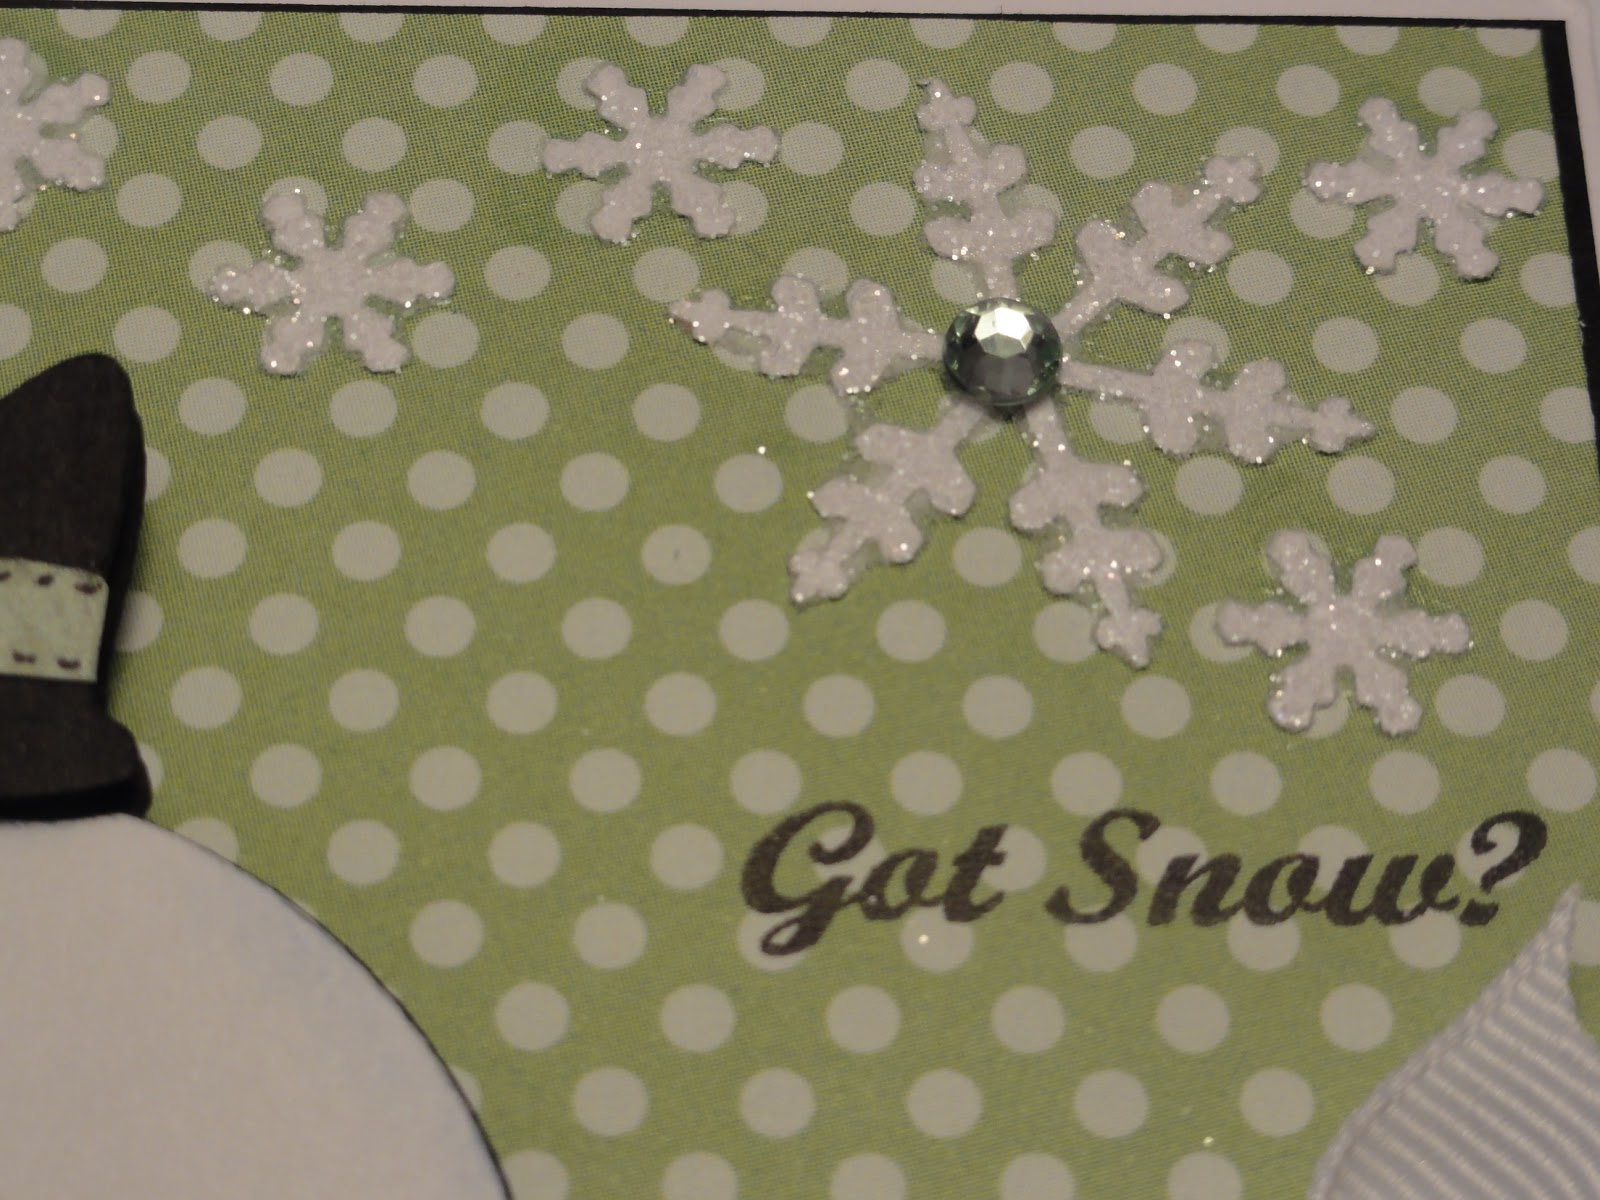
For my project I made this card. I cut the snowman from Jolly Holidays and stamped the face with a Peachy Keen Winter Wonderland Face stamp. I used a black and white pen for the highlights and a silver marker to color in the bottom of the skates. I punched some snowflakes and "glittered" them up. I did this by putting them through my Xron Sticker Maker and covered the sticky side with glitter. I did the same thing for the ice at the bottom. I added a gem to the center of the big snowflake and stamped the sentiment which is from Whimsical Designs Snow Much Fun stamp set. This set is for sale now in the Whimsical Designs Shop. Don't you just love that saying!?! To finish I tied a bow and pop dotted the snowman to the card.
I hope you all will play along this week and please don't forget to check out what the rest of the Whimsical Designers have created! Have a great day!

And the winner of my Whimsical Designs Stamp Release/500 Follower giveaway is......................... Random.org chose #8..............................................PAT N.
Congrats Pat! Please email me at booger1 at tds.net and I will get that in the mail for you! Thanks to all of you who are followers and leave the sweetest comments! You are THE BEST!

Wednesday, August 3, 2011

We Wish You A Berry Christmas!


Hello everyone! Here is the card that I made for Tacky Tuesdays Challenge. This month the challenge is to use a berry/fruit cut and the word Berry.
I am sticking with my Christmas in July cards for this one! I thought this would be something different. I cut the strawberries from Simply Charmed and stamped the faces with Peachy Keen face stamps. The hats were cut from Jolly Holidays. One is just the hat cut that I blacked out and the other is the blackbirds hat. The music notes were cut from Paisley. I printed the sentiment off my computer and used a border punch for the bottom. To finish I added white accents on the music notes , tied a ribbon and mounted the strawberries on pop dots. All of the pattern paper is from the new Recollections Bright And Jolly paper pad. I hope you all are having a great day and thanks for looking!

Monday, August 1, 2011

Penguin Card


Hello everyone! Isn't this card just SO CUTE!!! I love how it turned out. I made this card to enter into My Creative Times Throwback Thursday and More Than Favors Wacky Wednesday challenges. For Throwback Thursday you were to make a Christmas card and incorporate material and for Wacky Wednesday it is Christmas In July.
I cut the penguin from Simply Charmed and stamped his face with a Peachy Keen face stamp. For his scrarf I cut a strip of polar fleece and wrapped it around him and tied it. I attatched him to the card with pop dots. The North Pole sign was cut from Jolly Holidays and so was the bird. For the bird's hat I added a pom pom to the circle end and a strip of fiber to the brim. The sentiment tag was cut from Once Upon A Princess. I stamped the sentiment and used my I-Rock to attatch the white gems.
I hope you all are having a great day and thanks for looking!

Monday, July 4, 2011

Christmas In July


Hello everyone! It's time for another challenge at Celebrate The Occasion! This week the challenge is Christmas In July but you CAN'T use the color RED. I made the card in my Gypsy using this star shaped tag from Once Upon A Princess by welding 2 together and cut the circle mat. The snowman was cut from Jolly Holidays at 2.5 inches. I didn't have a small enough face stamp so I used the face from Peachy Keens Vivenne and Friends stamp set. I just used the face from the girl by using my Stamp N' Write marker to color only her face and then stamped it. To finish I added a bow with a snowflake brad, highlighted with a white gel pen, and stamped the sentiment. I hope you will play along this week and I can't wait to see what you will create!


Saturday, January 15, 2011

Fantabulous Cricut #42


Hello everyone! Isn't this card SO CUTE? I love how it turned out! I did this card for Fantabulous Cricuts weekly challenge which was "winter warmies" hats, mittens, etc. I got out my trusty sewing machine that I really neglect lately and sewed around the card. I cut the girl from Jolly Holidays at 3 inches. Then I trimmed some of these fur balls off of a trim ribbon and glued them to her hat and dress. It really came out cute and very furry looking. Then I cut the mitten border from Winter Frolic at 1 inch and accented it with my black pen. To finish it I stamped the sentiment and added brads to the side and made my bow with a matching brad. I am also entering this into My Pink Stampers challenge which is to make something with either her stamps or pink. I hope you all are having a great weekend and don't forget to leave a comment here for a chance to win Winter Frolic. I will be drawing the winner tomorrow.

Saturday, December 11, 2010

White Wreath Card


Happy Saturday everyone! I am off Christmas shopping today...it's going to be so busy that I am actually dreading it! LOL! This is a card that I did for Cricut Cardz Challenge. The challenge was to make a circle shaped card in any colors EXCEPT red or green. This card is a little different. I cut my card from Smiley Cards at 5 inches and the wreath base from Jolly Holidays at 5 inches. The card I stretched in my Gypsy to be more of a circle and I embossed it with my Cuttlebug using the Snowflakes folder. Then I puched ALOT of snowflakes and folded them in half and glued them all to the wreath base. I added a bow on the top and jewels for the ornaments. I think it turned out kind of neat looking....what do you think? I hope you all are having a wonderful weekend! Take care.

Tuesday, December 7, 2010

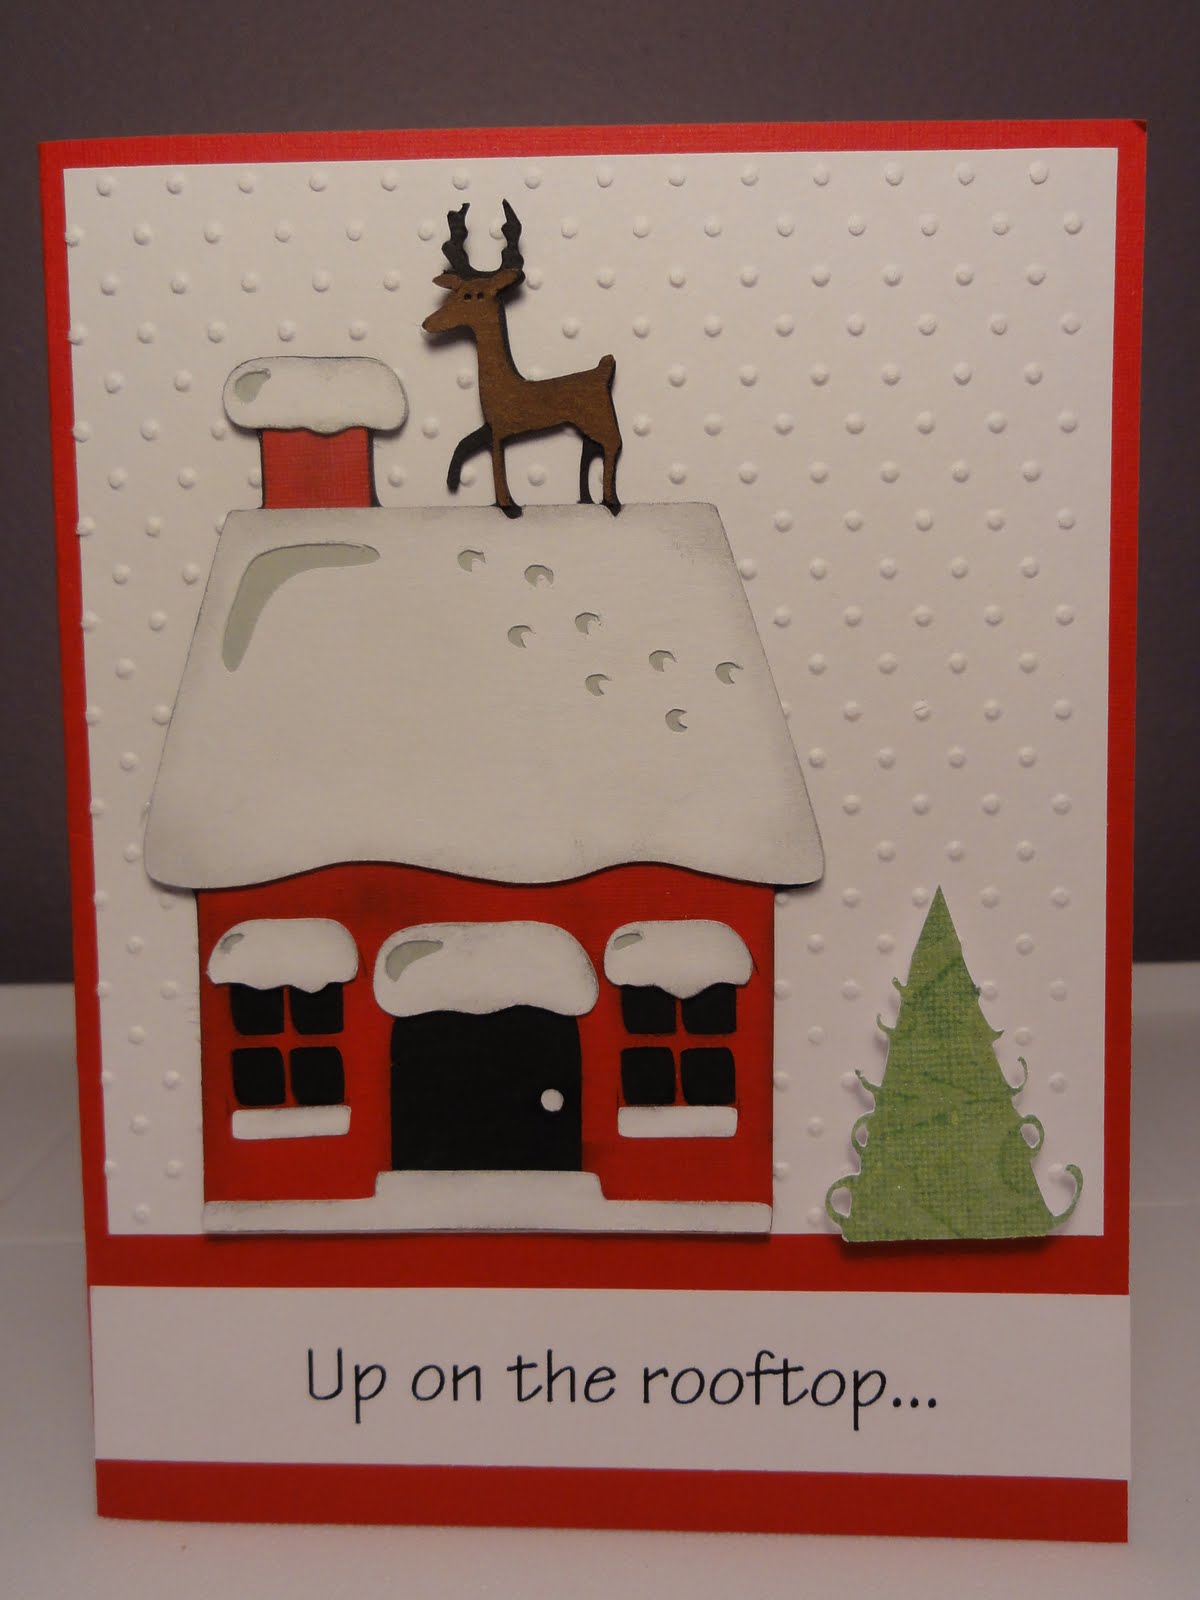
Hi everyone! This is a card that I did for Crafting With Cristina's companion challenge. The challenge was to make a card inspired by a Christmas song. Mine is Up On The Rooftop. I cut the house from Jolly Holidays at 4 inches and the tree at 2 inches. I didn't want the whole tree so I cut off the bottom. I embossed the white backround with Swiss Dots and the sentiment is printed from my computer. I'm not that happy with this card. It needs something and I can't figure it out so this is it. :) LOL! I hope you all are having a wonderful day! Take Care!!!

Sunday, December 5, 2010

Squirrel Holiday Card


Good morning my blog friends! I made this card especially for a friend of mine that LOVES squirrels. I cut the squirrel at 3 inches from none other than Jolly Holidays....I told you I love this cart right? :) The snow on the bottom is a torn piece of paper that I embossed with Swiss Dots. The sentiment is a stamp that I framed in green and then pop dotted to a piece of ribbon. I also pop dotted the squirrel. To finish it off I added a strip of paper to the inside of the card and then cut trees from the backround paper and added them to the inside of the card as well as the envelope. I am going to enter this card into the following challenges.
More Than Favors Wacky Wednesday #17: Holiday card with embossing
Paper Cutz: Use 2 different pattern papers


Saturday, December 4, 2010

3X3 Mini Card Set


Hello everyone. I made this mini card set with the snowmen from Jolly Holidays. I can't help using this cart.....I really do love everything about it. I hope you all won't get sick of it! :) I cut a 12X12 piece of white paper in half, and then cut 3 inch strips to get my 3X3 cards. The red snowman I cut at 2 inches, the green at 1.75 inches, and the blue at 2 inches. I added a matching ribbon to the side of each card. I also cut this adorable envelope from Once Upon A Princess. I never noticed it before and now I just LOVE how cute it is. I hope you all can see it clearly. It's just a little fancier than a plain envelope. I am going to enter this into the following challenges

Cricut Cardz: Make a 3X3 Christmas card set

Fantabulous Cricut: Use Ribbon


Wednesday, December 1, 2010


Hi everyone! I'm back with more Jolly Holidays!!! :) I love this cart, it is SO CUTE! I cut this bag from TBBM at 6 inches and used OUAP for the cut out in the center cut at 1.5 inches. The penguin, light post, and tag were cut from Jolly Holidays. The penguin was cut at 2 inches and I trimmed off the umbrella. The light post was cut at 2.5 inches and the tag was cut at .75 inches. I used Glossy Accents on the penguin and light post to give it some shine and the snow on the bottom is just a torn piece of paper. I finished it with a bow and added iridescent shred on the inside. I am going to enter this into Made By Momo's Tuesday challenge which was to make a treat bag or box. Have a great night everyone!!!